Adobe Photoshop allows you to create dynamic designs. We’ll tell you how to create balloons design in adobe Photoshop
Go to “File” menu and Open new document

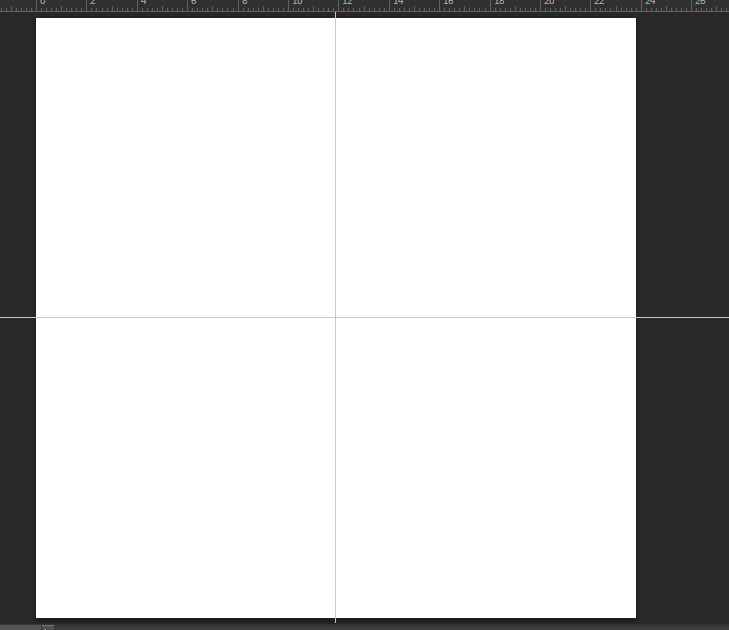
Set “Rulers” to get the center of document
Select “Gradient tool”

Choose a style from Gradient editor and Click “OK”

Drag from Center point to right-bottom on document

Press CTRL+J to make a copy of layer, go to Filters>Render>Lens Flare

Set Lens Type to 105mm and Click “OK”

Create another copy of Layer with CTRL+J, Under “Layers” tab, Click “Normal” and select “Overlay”

Go to Filters>Distort>Polar Coordinates

Check “Rectangular to Polar” and set percentage to 12.5%

Hide other Layers, Press CTRL+T, right-click on image and “Flip Vertical”

Select Curve in transformation and reshape image
![]()
Create a copy of image and resize the copy to make a bead of balloon

In Blending options, Select “Inner Shadow”

Set Bland mode to “Color Dodge”

Change color to “White”

Merge Layers to make it a single object for use on other backgrounds

You can create different types of balloons designs in adobe Photoshop.
Leave a Reply