WooCommerce is a plugin by WordPress. This plugin lets you make your WordPress store where you can sell your goods. We’ll tell you how to add product in WooCommerce.
Go to Products=> Add New

Describe your product name
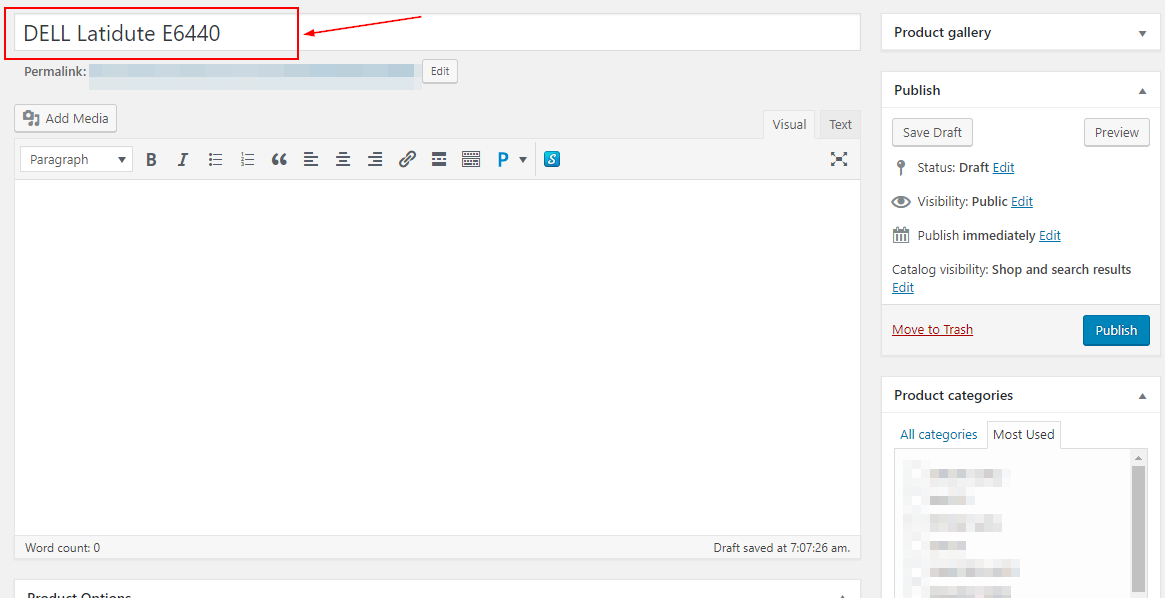
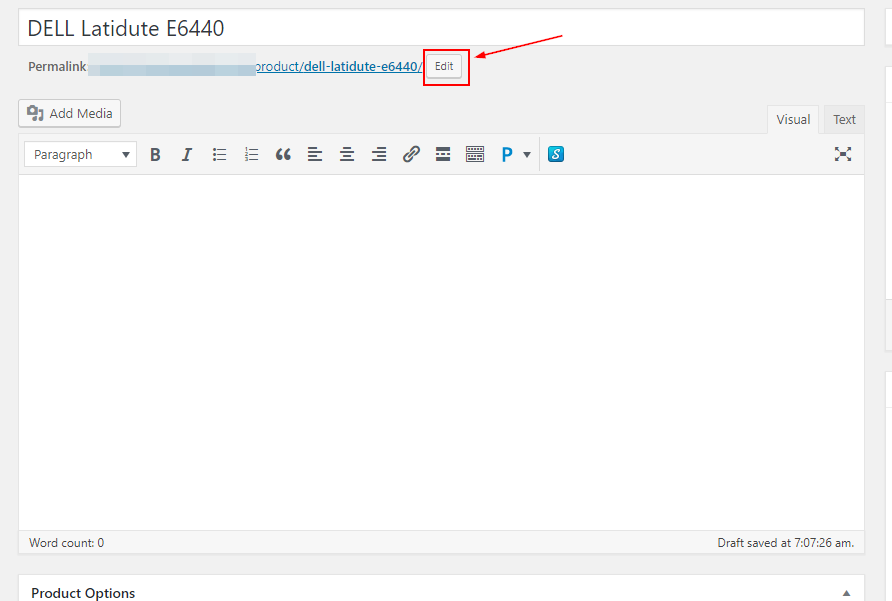
When you put product name, a URL will created for this product. However, you can edit this anytime
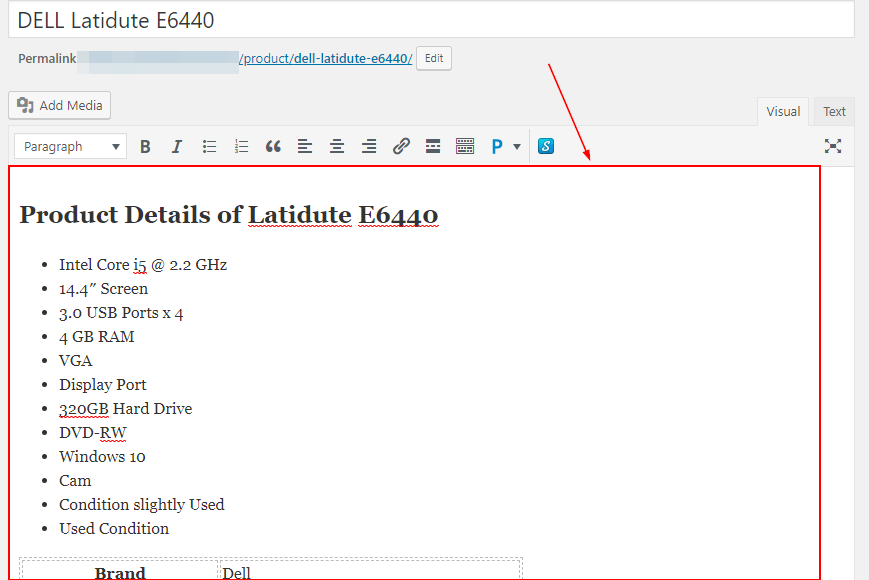
Add Product Description, description includes all the necessary details about your product that customer need to know before he decides to buy this product
Scroll down to “Product Data”. In “General” tab, Put price of the product in “Regular Price”

Move to “Inventory” tab. Add SKU (if applicable) and status of stock for the product

Go to “Linked Products” tab and Select “Upsells” and “Cross-sells” for the product

Move to “Attributes” tab and add attribute for your product. Attributes may have color, size and other variations for the product. You can add as many attributes as you wish.
Give your attribute a name and and add values separated by “|” as shown in fig.

Add product short description, a quick overview of your product

Add “Category” for the product. You can select from categories list or Add new category here

Put the name of Category and select Parent Category. If you do not select any parent category, this category will appear to be a Parent category.

Scroll down to “Product image” and click “Set product image”

Select image from your media library and click “Set product image”

Click “Preview” to review your product before publishing. If everything is complete, Click “Publish”

You have successfully added a new product to your WooCommerce store.


Leave a Reply